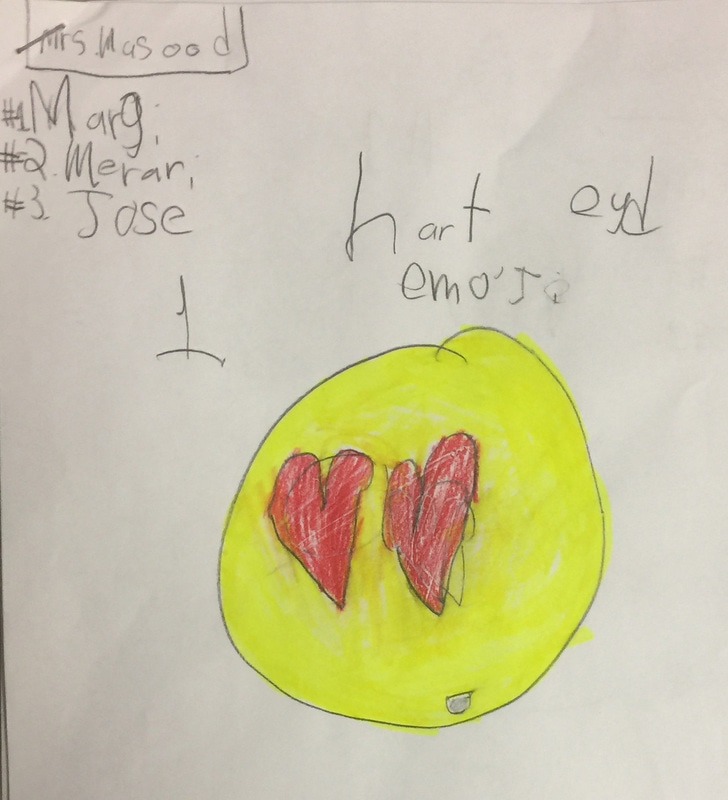
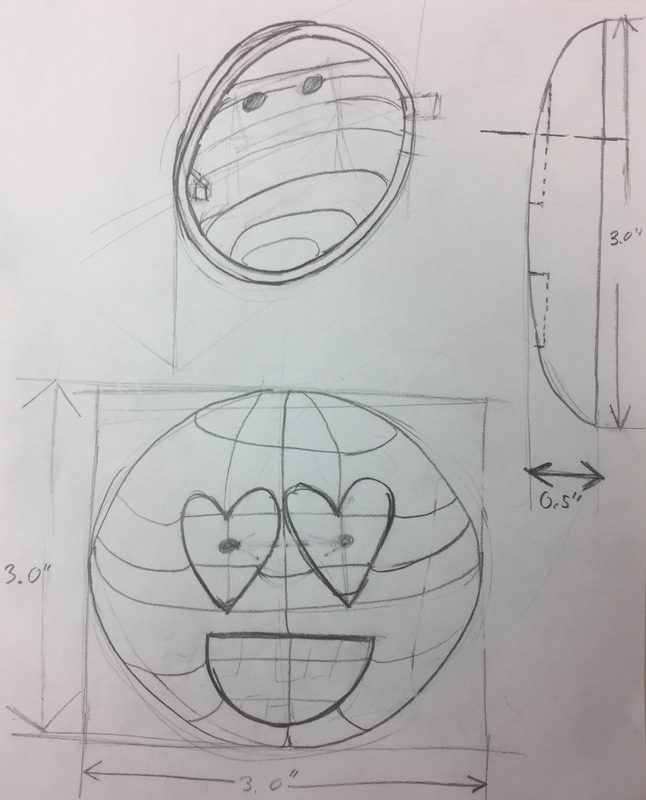
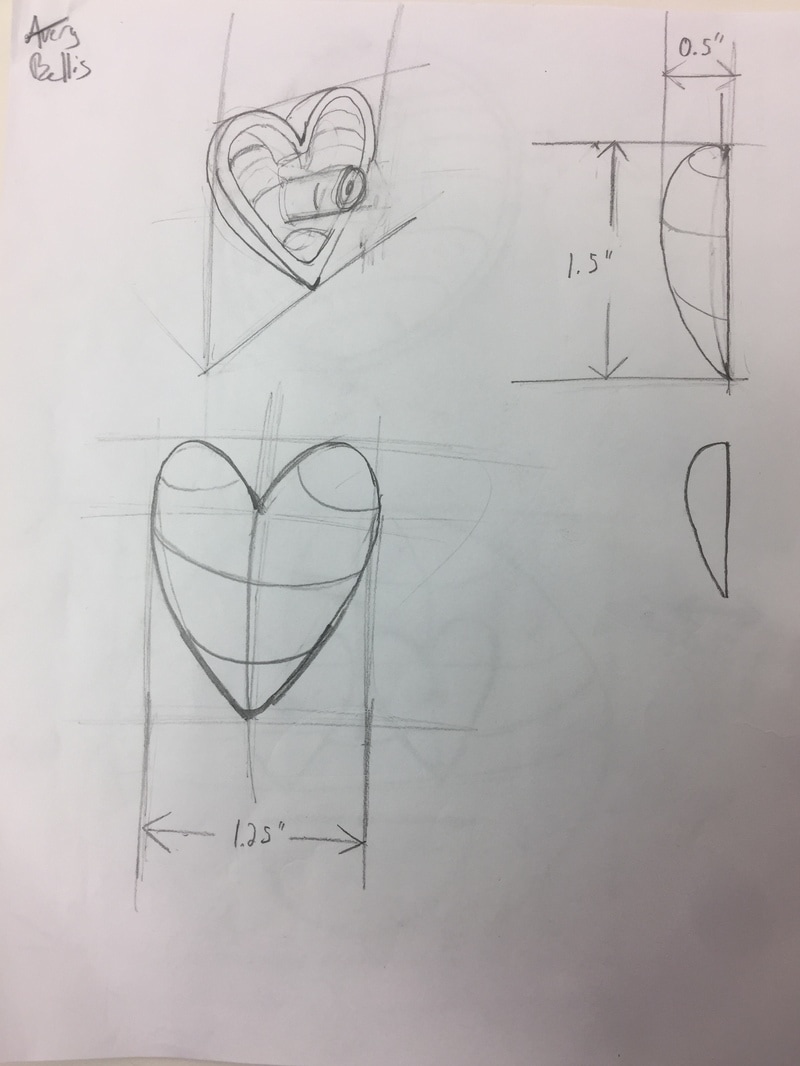
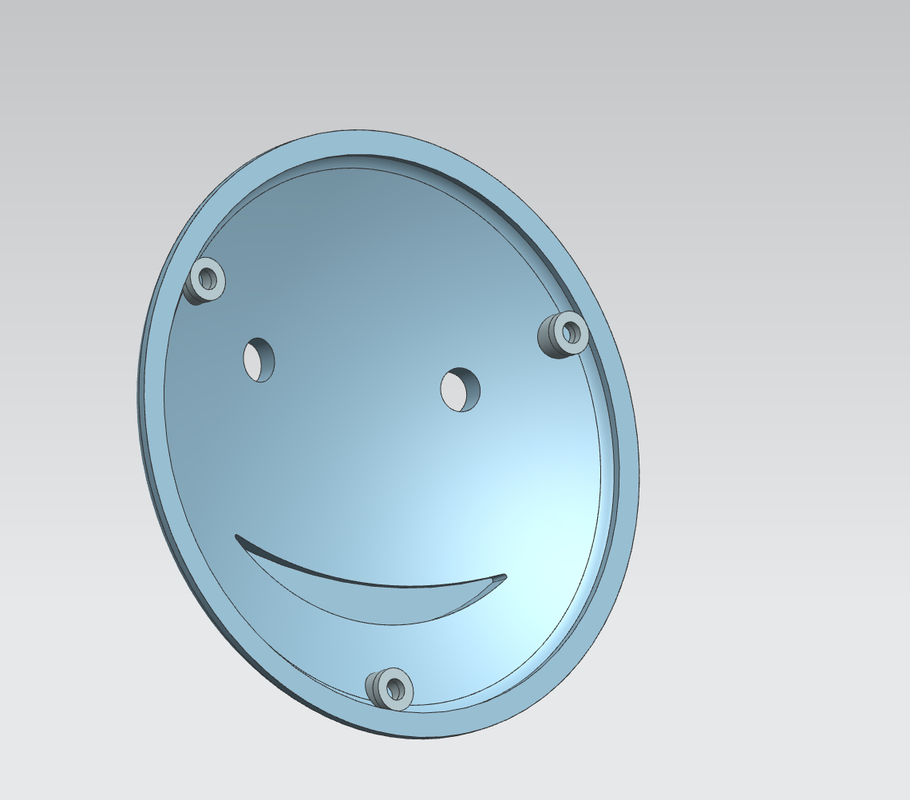
Avery Bellis
  • Home
  • Work Experience
  • Projects
    • Dilly Dally
    • HotPlate
    • Hear Clear
    • Experience Design
    • Generative Design: Rock Climbing Holds
    • P&G Product Innovation
    • Milling and Manufacturing
    • ResponSense
    • BedHead
  • Side Gigs
    • Sketching
    • Computer Modeling
    • Making
    • FoamCore Modeling
  • Resume
  • Wood Work

Milling and Manufacturing

Given a drawing from a 4th grader at the local Lincoln Elementary school, my team and I set out to create it as a manufacturable toy.  
Conceptualizing:
The first step we took was to sketch out what it might look like as injection molded parts.
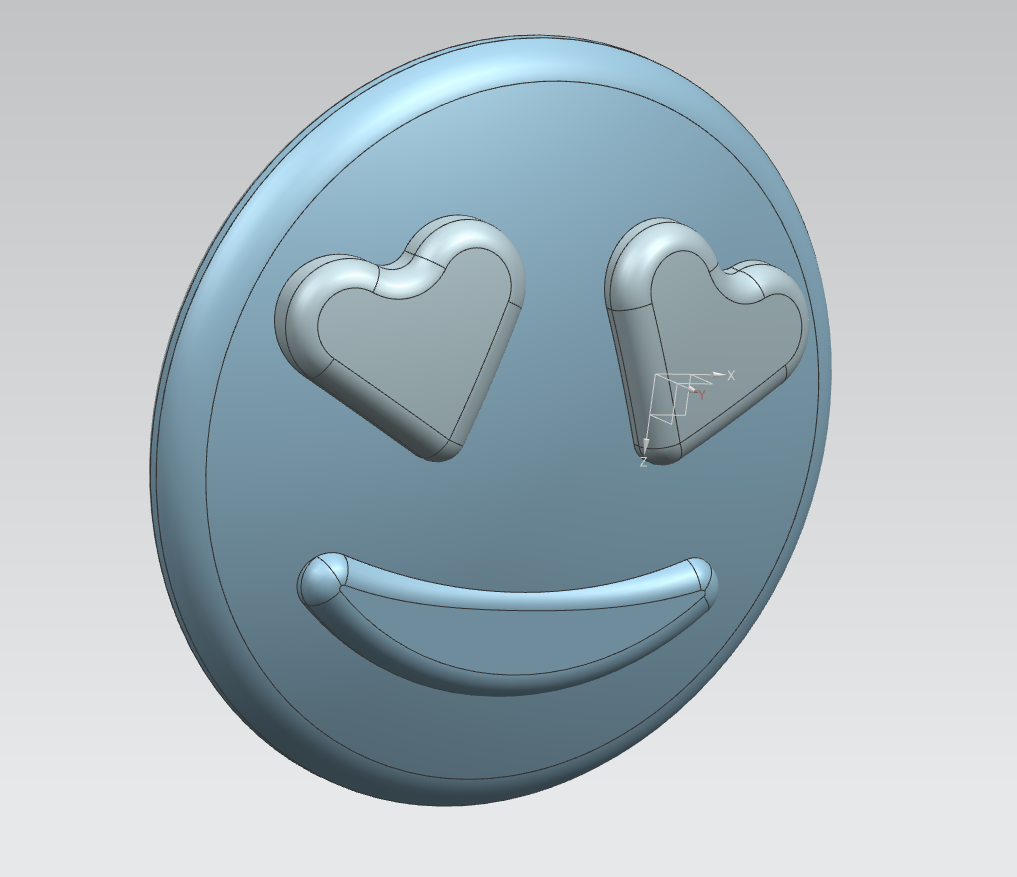
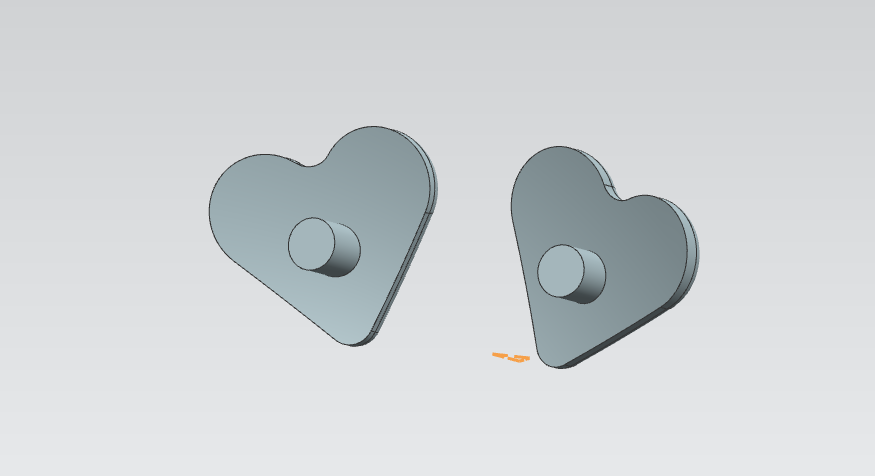
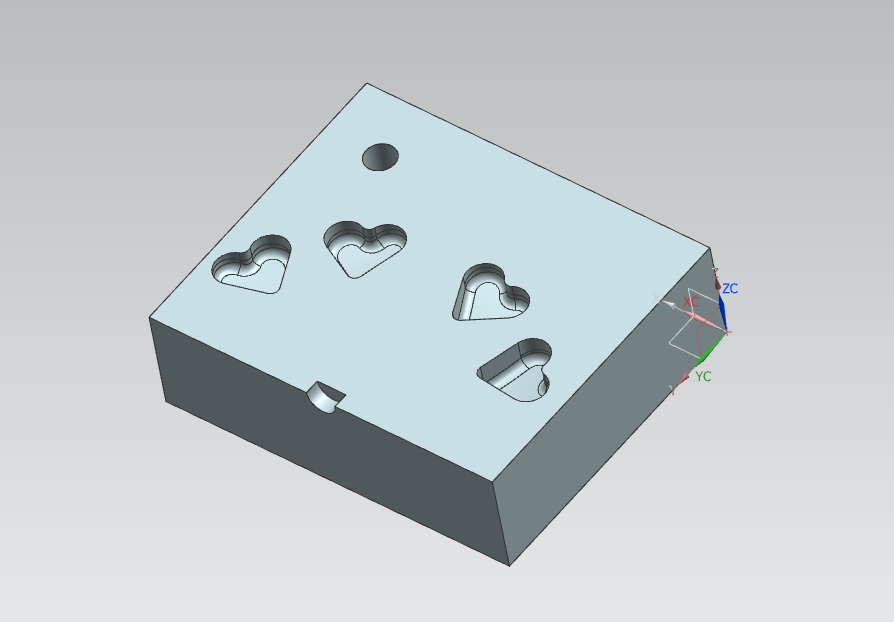
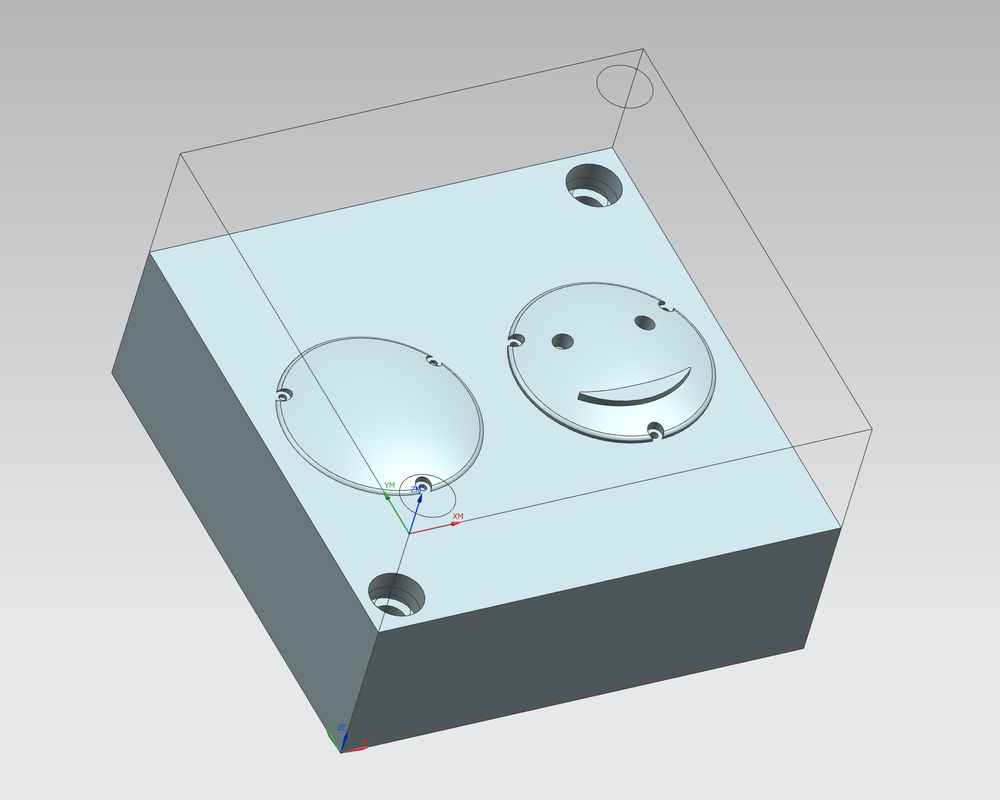
Drawing by Local 4th Grader
Rough initial Part sketch for Face
Part sketch for heart eyes
Modeling:
Next, we used NX to model all of the parts, and their respective core and cavity aluminum molds
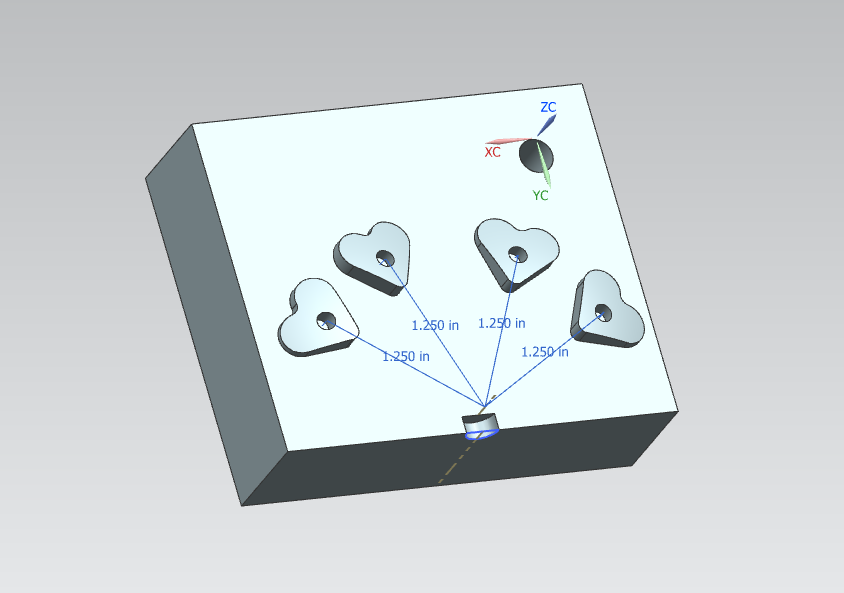
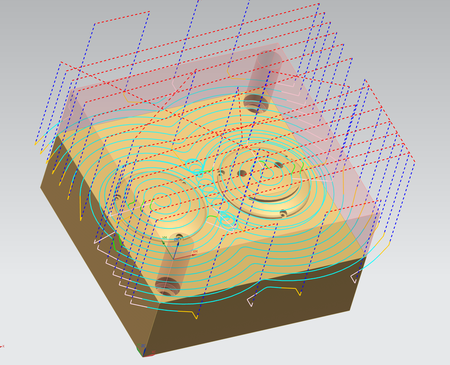
NX Assembled Model
Face part with interference fits
Heart eye parts with interference pins
Heart eye core model
Heart eye cavity model
Face core model
Tools and Paths:
We then needed to determine the machining tools we would use and their tool paths
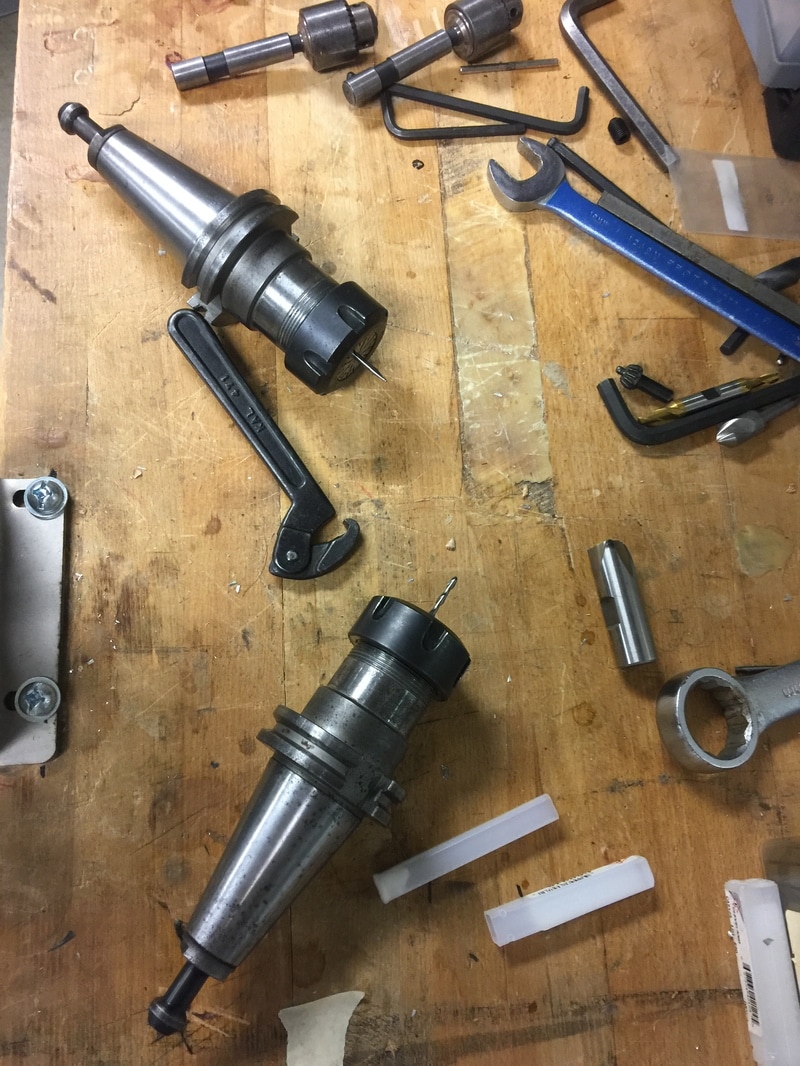
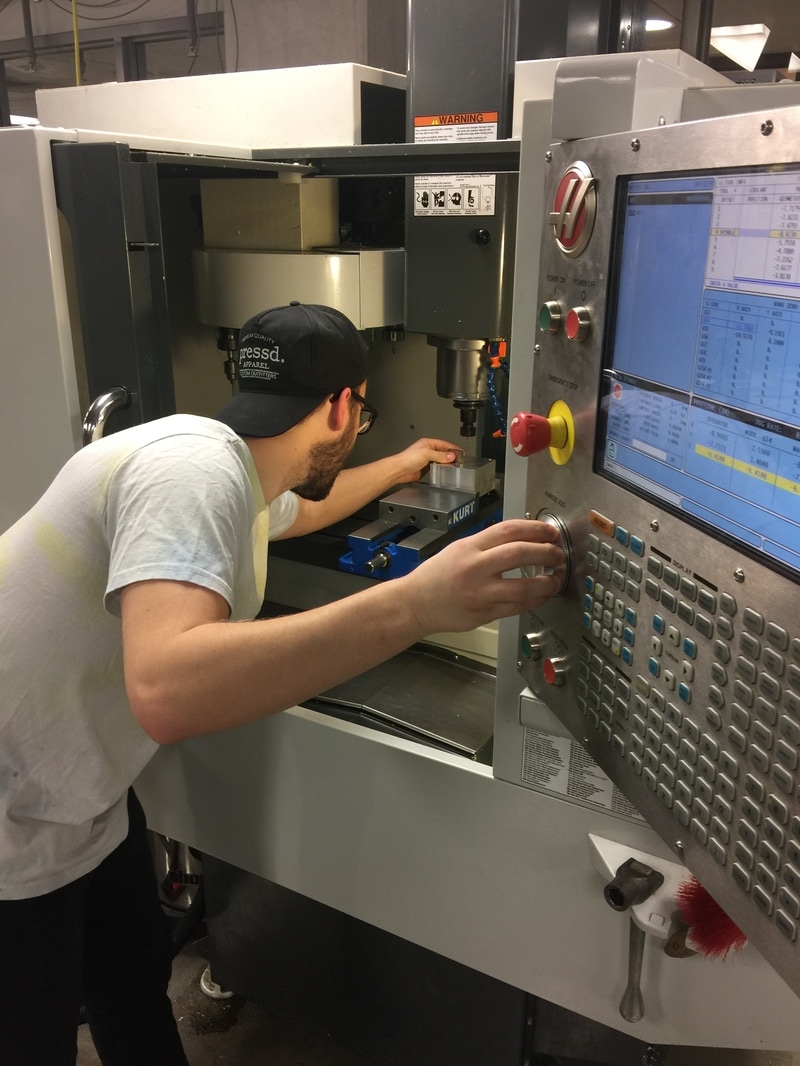
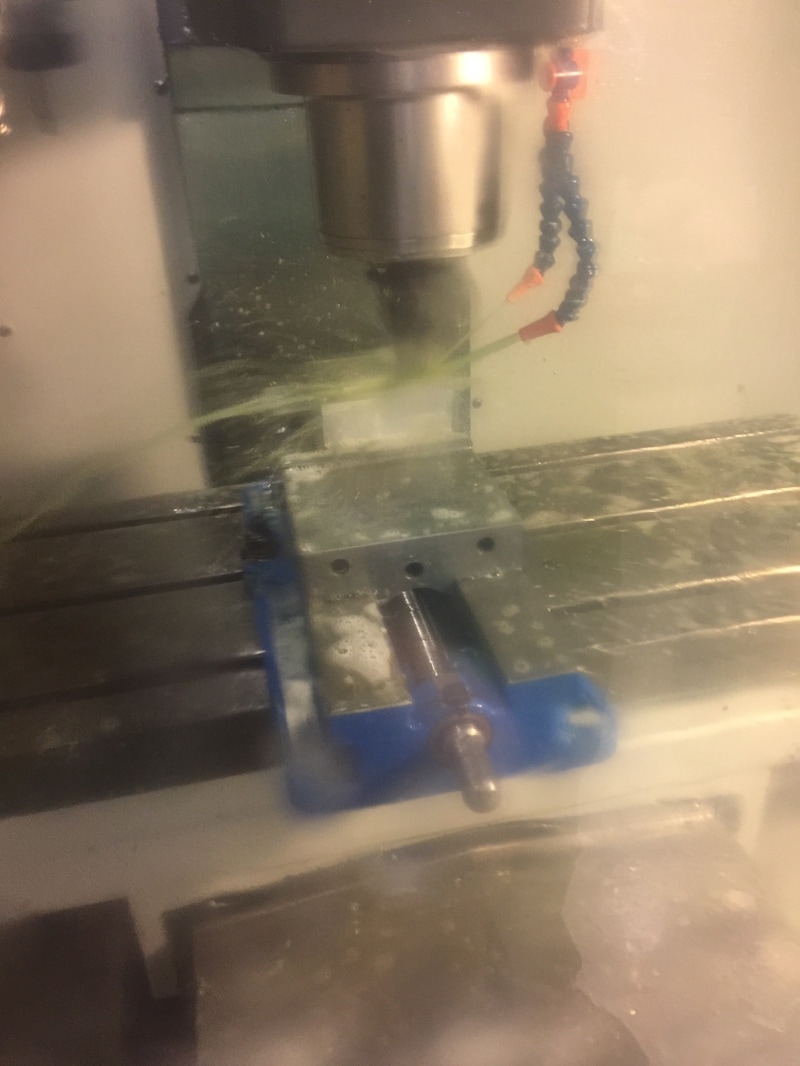
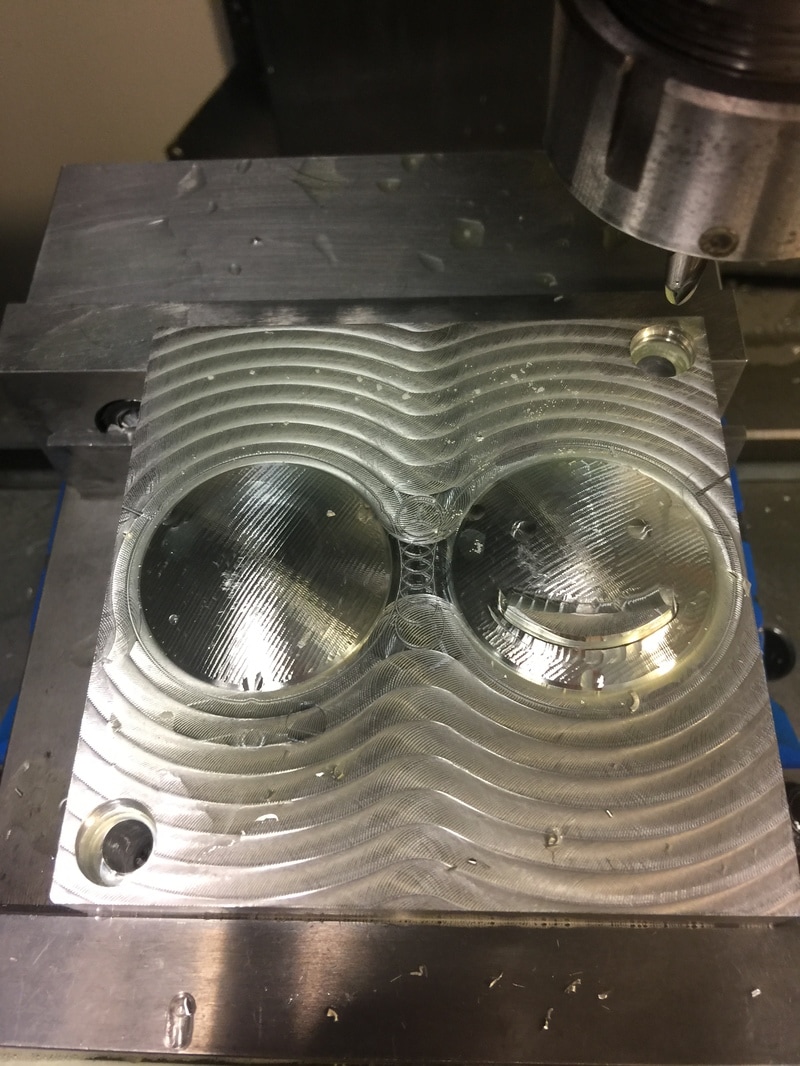
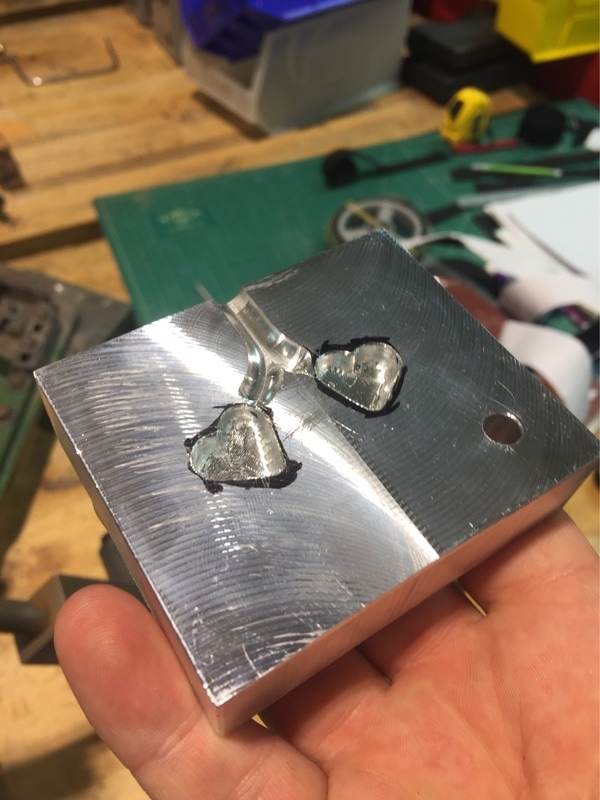
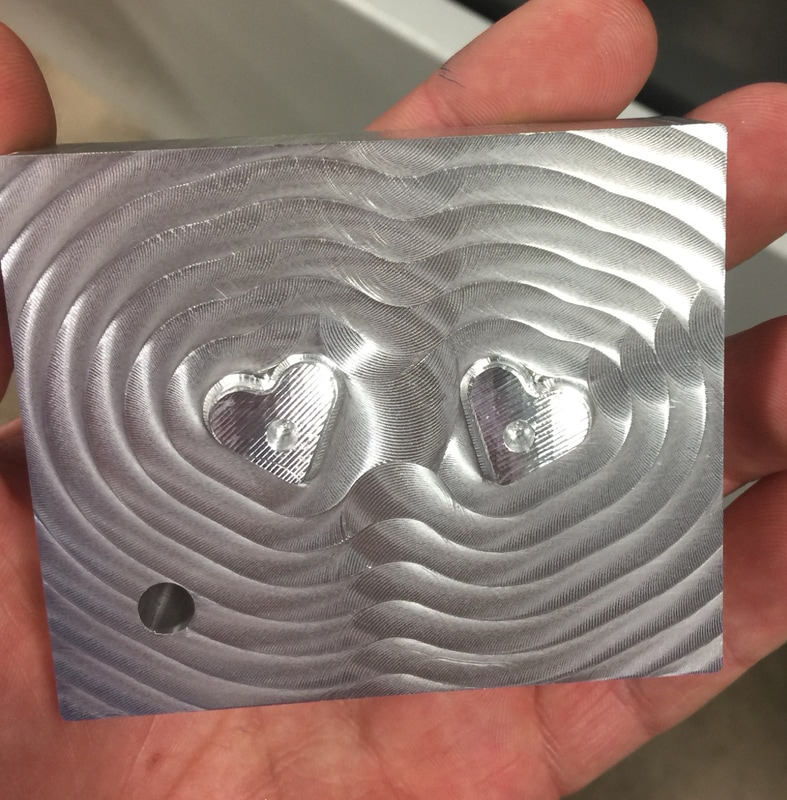
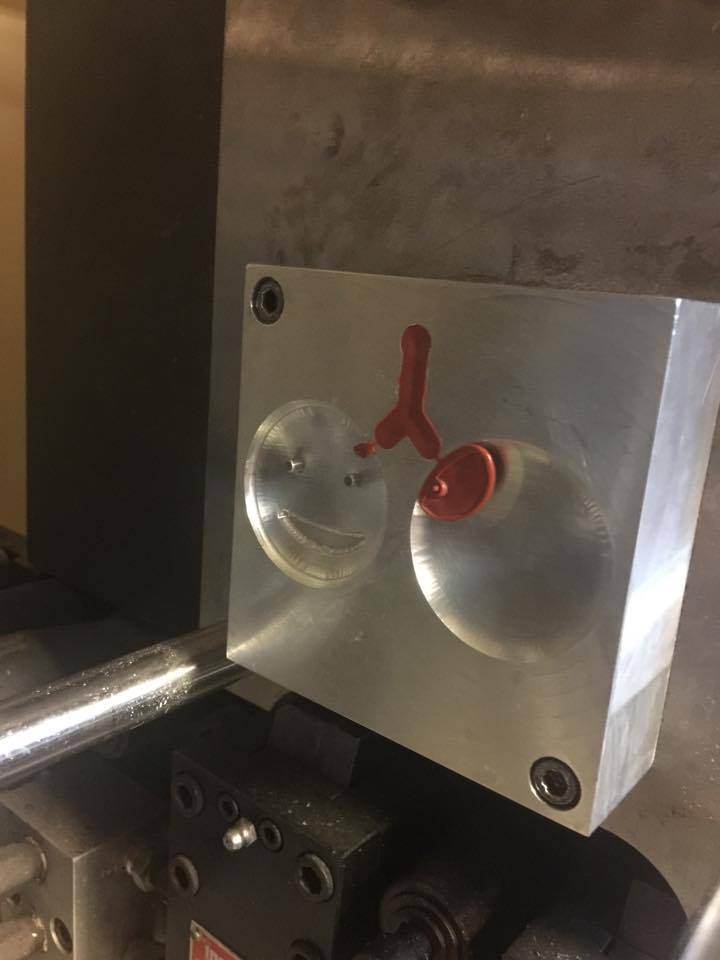
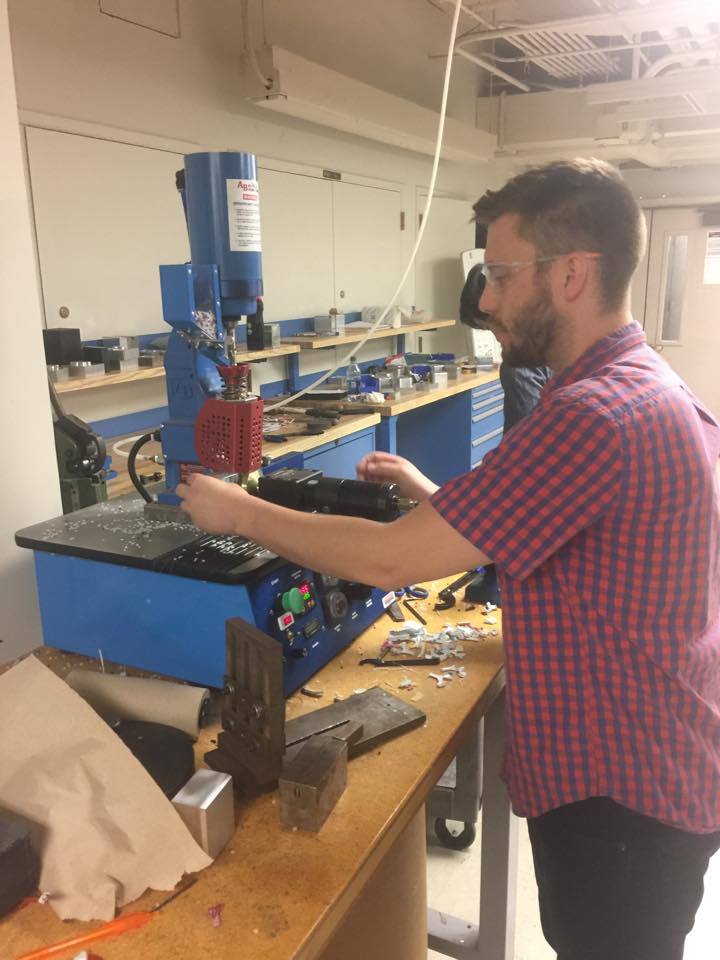
Picture
Machining:
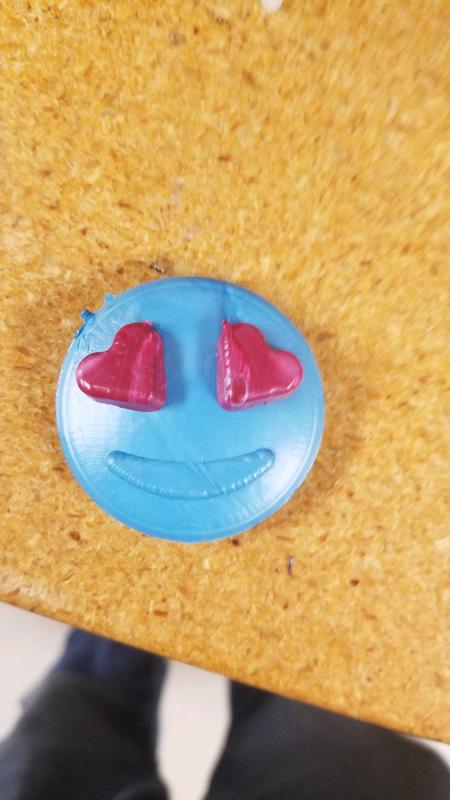
After completing all the computer work it was time to get in the shop and actually make our heart eye emoji molds
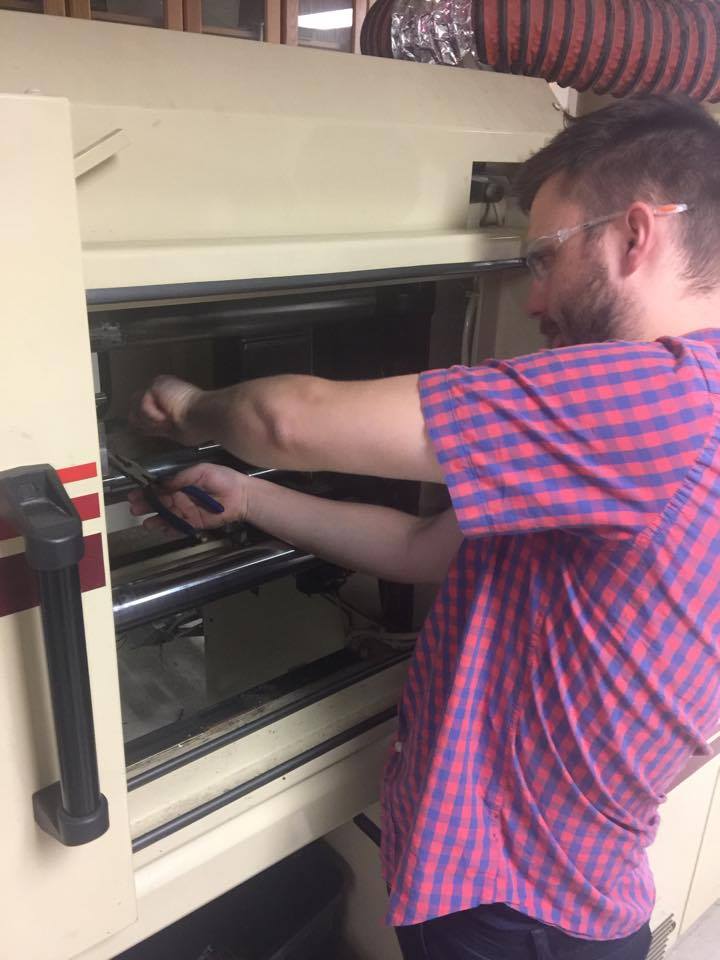
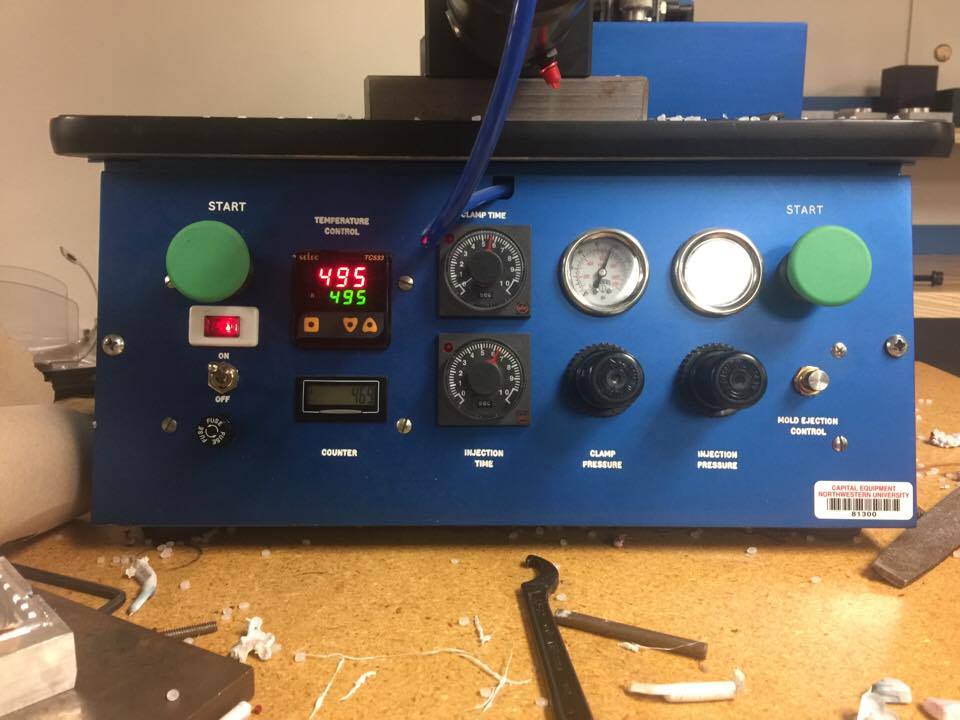
Tooling in prep for machining
Zeroing the Toolhead
Cutting operation begins
Final Core
heart eye cavity
heart eye core
Manufacturing:
We produced over 100 complete toys using one industrial sized and one small injection molding machine.   We measured a dimension of each parts to perform a control analysis.
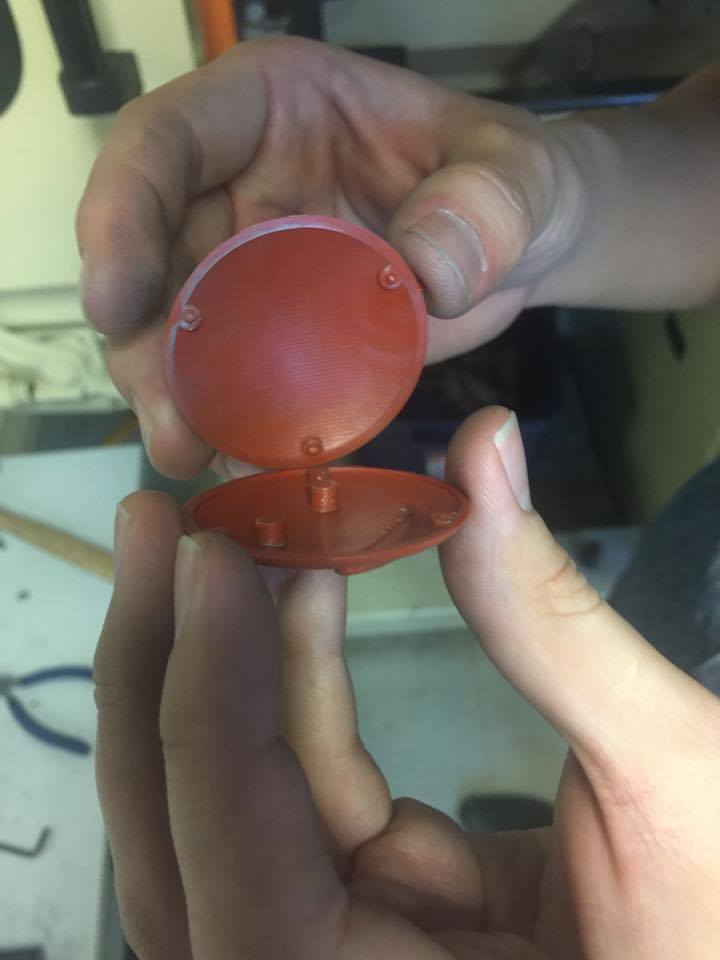
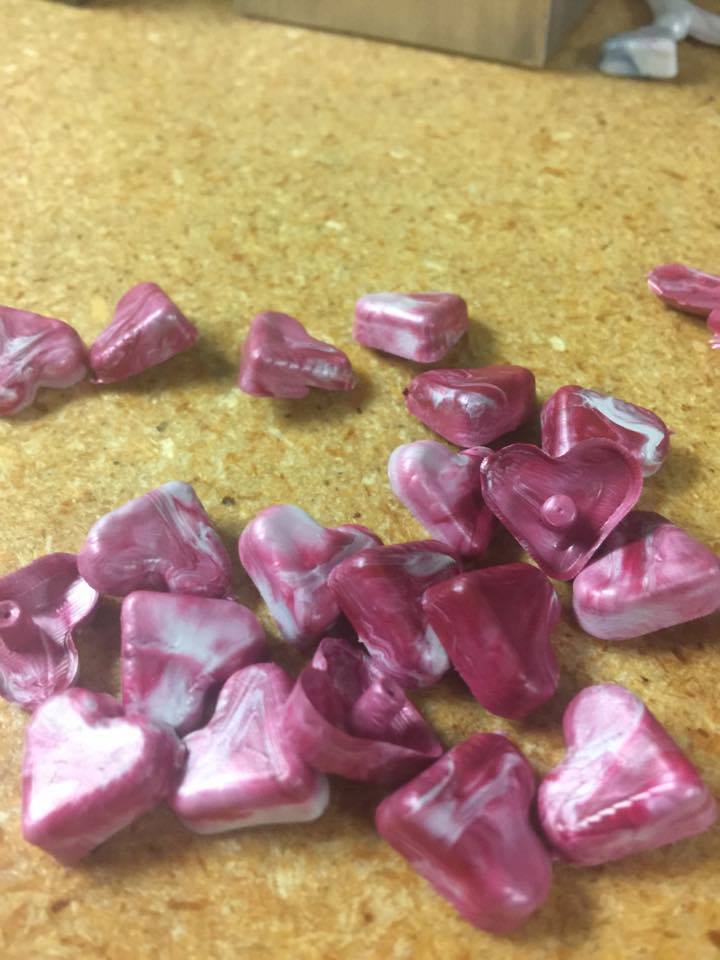
Time parameters during production
Initial problems were solved by filing the gate to be bigger
removing parts on industrial sized injection molding machine
assembly of parts
small heart eyes were produced on small desktop machine
Smaller machine had limited parameter controls
Heart eye parts
Final Assembly
Measuring:
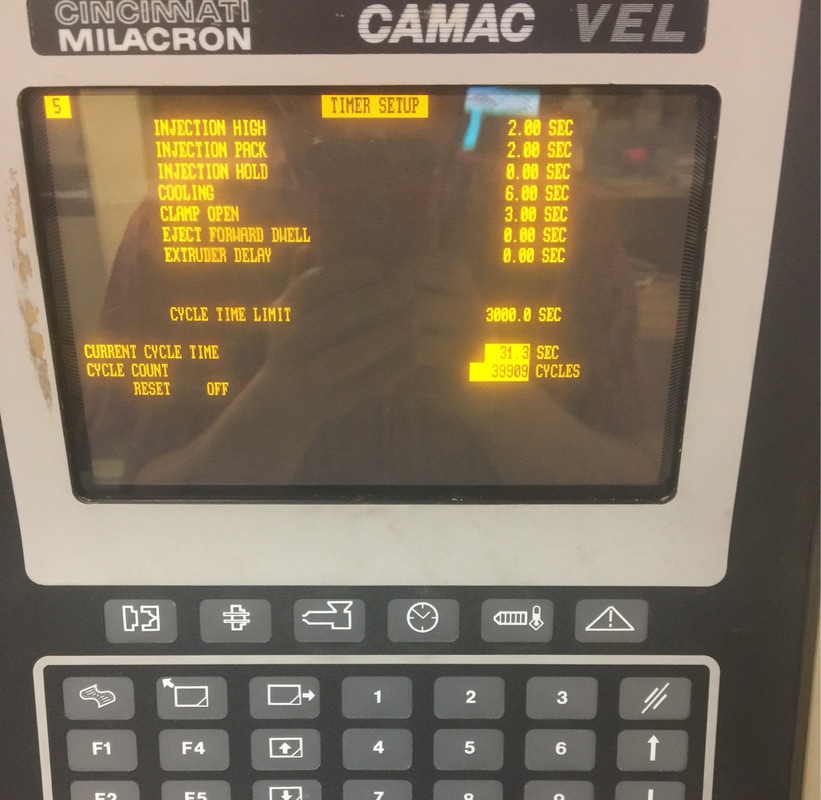
The diameter of the peg on the back of the emoji's right eye was a recorded control measure as we adjusted machine parameters.
Picture
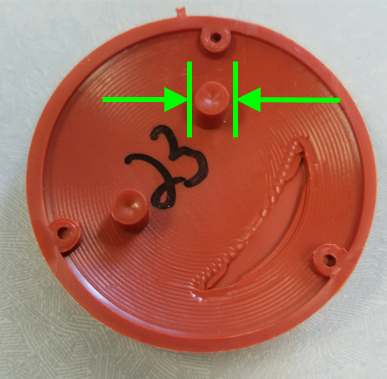
We measured 100 consecutive parts.  We adjusted the cooling time from 6 seconds to 3 seconds for parts 51-75 and returned it to 6 seconds for parts 76-100. The average diameter went from 0.185" to 0.181" and back to 0.185" respectively.  
Picture

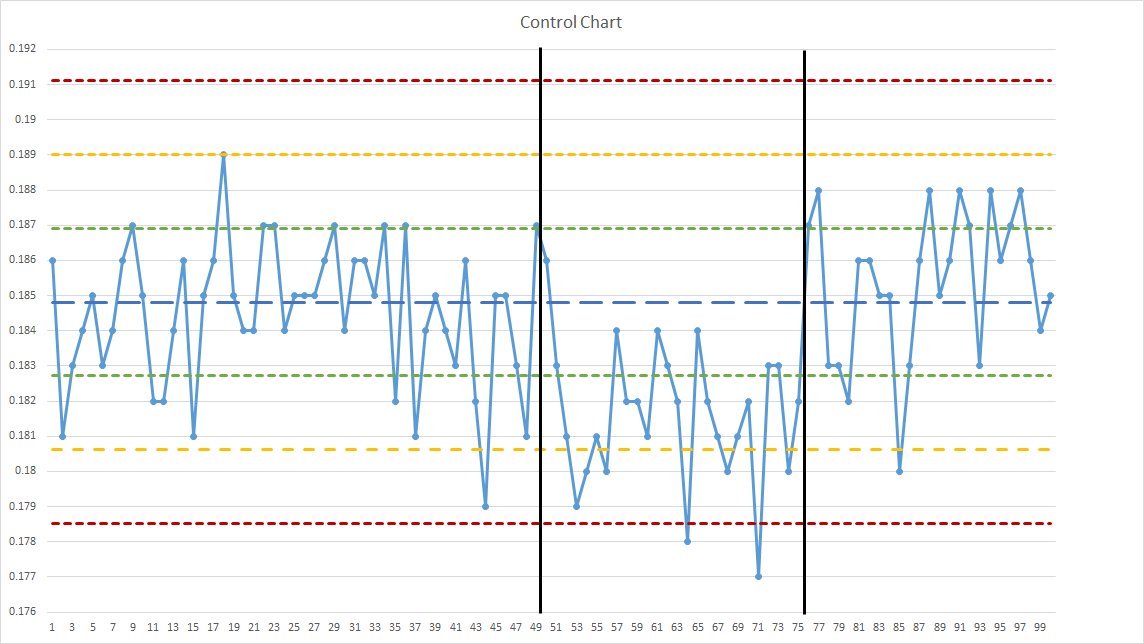
We  were able to drive the production out of control by changing the cooling time.
Projects
Proudly powered by Weebly
  • Home
  • Work Experience
  • Projects
    • Dilly Dally
    • HotPlate
    • Hear Clear
    • Experience Design
    • Generative Design: Rock Climbing Holds
    • P&G Product Innovation
    • Milling and Manufacturing
    • ResponSense
    • BedHead
  • Side Gigs
    • Sketching
    • Computer Modeling
    • Making
    • FoamCore Modeling
  • Resume
  • Wood Work